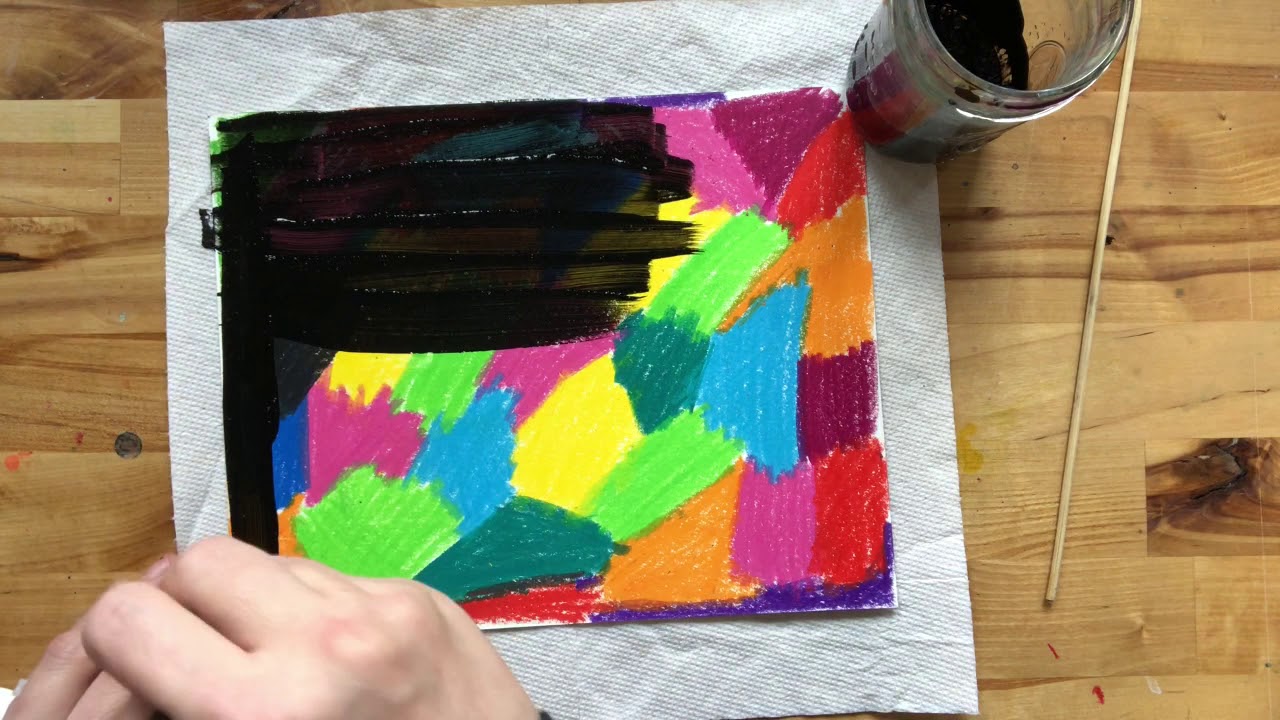
Welcome to this step-by-step tutorial on How To Make A Scraperboard, a simple yet creative art form that can be used for a variety of purposes. Scraperboard is a unique technique of creating images using a scraper tool to scratch away a layer of ink or paint, revealing a contrasting color underneath. The resulting image is a strikingly detailed and textured piece of art that can be used in your next project or simply displayed as a piece of art.
Materials Required
To begin with, let us gather all the required materials for making a scraperboard:
- Illustration Board
- Scraper tool
- Paintbrushes of different sizes
- Black Ink or Acrylic paint
- White Gouache
- Graphite pencils
- Tracing Paper
Steps involved in making a scraperboard
Step 1: Creating an initial sketch
The first step is to create a sketch of the image or design you wish to make on the final scraperboard. This can be done either by freehand drawing or by tracing a pre-made design using tracing paper.
Step 2: Preparing the Illustration Board
The illustration board needs to be prepared before starting the actual scraperboard. The board needs to be coated with a layer of either black ink or acrylic paint using a paintbrush. This will serve as the base color for the scraperboard.
Step 3: Creating the White Background
Once the base coat is dry, it is time to create the white background for the scraperboard. White gouache is applied in a thin layer using a paintbrush, and allowed to dry completely.
Step 4: Transferring the design onto the Scraperboard
The next step is to transfer the design onto the scraperboard. This can be achieved by placing the sketch over the scraperboard and tracing the design using graphite pencils.
Step 5: Scratching away the design
Now comes the exciting part, using the scraper tool to scratch away the design on the scraperboard. This is a delicate process that requires skill and patience. The scraper tool is used to carefully scratch away the white layer on the designated areas, revealing the black base layer.
Step 6: Finishing touches
Once the design is complete, it is time to add any finishing touches. This can include adding outlines, shading, or highlighting portions of the design using white gouache to enhance the overall look of the piece.
Conclusion
Scraperboards are a great way to create detailed and textured pieces of art. They can be used for various art projects, or simply displayed as a piece of art. It requires certain skills and patience, but with practice, anyone can master the art of creating scraperboards. So go ahead, give it a try and see the magic unfold.

