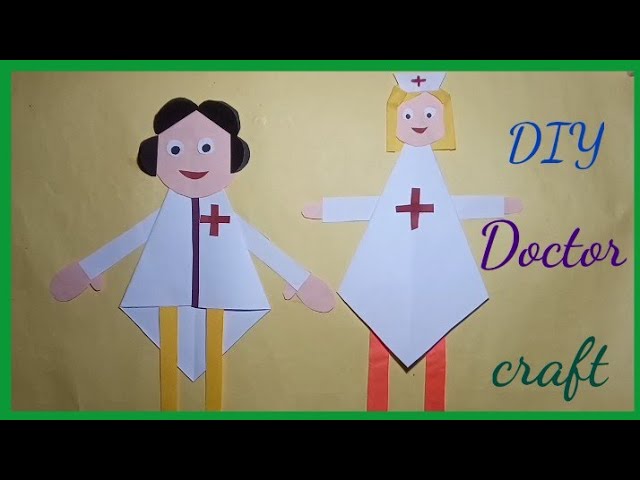
Welcome to our DIY Puppet Making Tutorial! Today we’ll be showing you how to create your very own Doctor Puppet. This fun and easy project is perfect for beginners and can be enjoyed by both adults and kids. Not only is it a great decoration for the home, but it is also a useful tool for when you want to give a speech or presentation. So, let’s get started!
What You'll Need
Before we start, it’s important to make sure you have all the necessary materials. Here’s what you’ll need:
- Cardboard (thin and thick)
- Scissors
- Glue gun
- Paints (white, blue, red and black)
- Thin markers (black and blue)
- Yarn (black and white)
- A pencil
Step 1: Sketching the Puppet
First, you’ll need to create a plan or sketch of your puppet to use as a guide. Draw a rough outline of the doctor’s head, body, arms, and legs on the cardboard. You'll need two copies of the head and body shapes, as they will be glued together to create a 3D effect.
Note:
Make sure that the shapes are proportional to each other and large enough for your fingers to fit inside.
Step 2: Cutting Out the Shapes
Next, use your scissors to cut along the outline of your puppet shapes. Cut along the outer edge of each shape and make sure to leave a little extra cardboard on the edges to allow for gluing.
Step 3: Painting the Puppet
Now it’s time to paint your puppet. Start with the white paint and apply it to both sides of the head and body cutouts. Next, using a thin brush, paint on the facial features of the puppet. Remember to use the thin black marker for the eyes and eyebrows, and the thin blue marker for the mouth.
Note:
Make sure to let each layer of paint dry before adding another.
Step 4: Gluing the Puppet Together
Once the paint has dried, it’s time to glue the puppet together. Use the glue gun to attach the two head cutouts together, leaving a gap at the bottom for your fingers. Then, stick the body shapes together in the same way.
Note:
Make sure to align the shapes as accurately as possible to create a professional-looking puppet.
Step 5: Adding the Details
Now that the main body of the puppet is complete, it’s time to add the details. Cut a small piece of black and white yarn and twist them together to create the hair. Use the glue gun to attach this to the top of the puppet’s head.
Next, cut out two small rectangles of thick cardboard for the puppet’s glasses. Paint them blue and attach them to the puppet’s face with the glue gun.
Note:
You may need to trim the glasses to fit the puppet’s face perfectly.
Step 6: Finishing Touches
Finally, add the finishing touches to your puppet. Cut out two small rectangles from blue cardboard and paint them red. These will be the puppet’s scrubs. Attach them to the bottom of the puppet’s body.
You could also add a stethoscope, syringe or other medical tools to give the puppet more detail.
Conclusion
Congratulations! Your Doctor Puppet is now complete. We hope that you have enjoyed following this tutorial and that your new puppet brings joy and entertainment to your home or workplace.

